Adding Another Playtest Tool
Last year I got obsessed with a wonderful game called Murder by Numbers which introduced me to Nonogram or Picross puzzles. It’s a puzzle that’s easy to get into and a delight to just pass the time with using different types of solving logic to go through it.
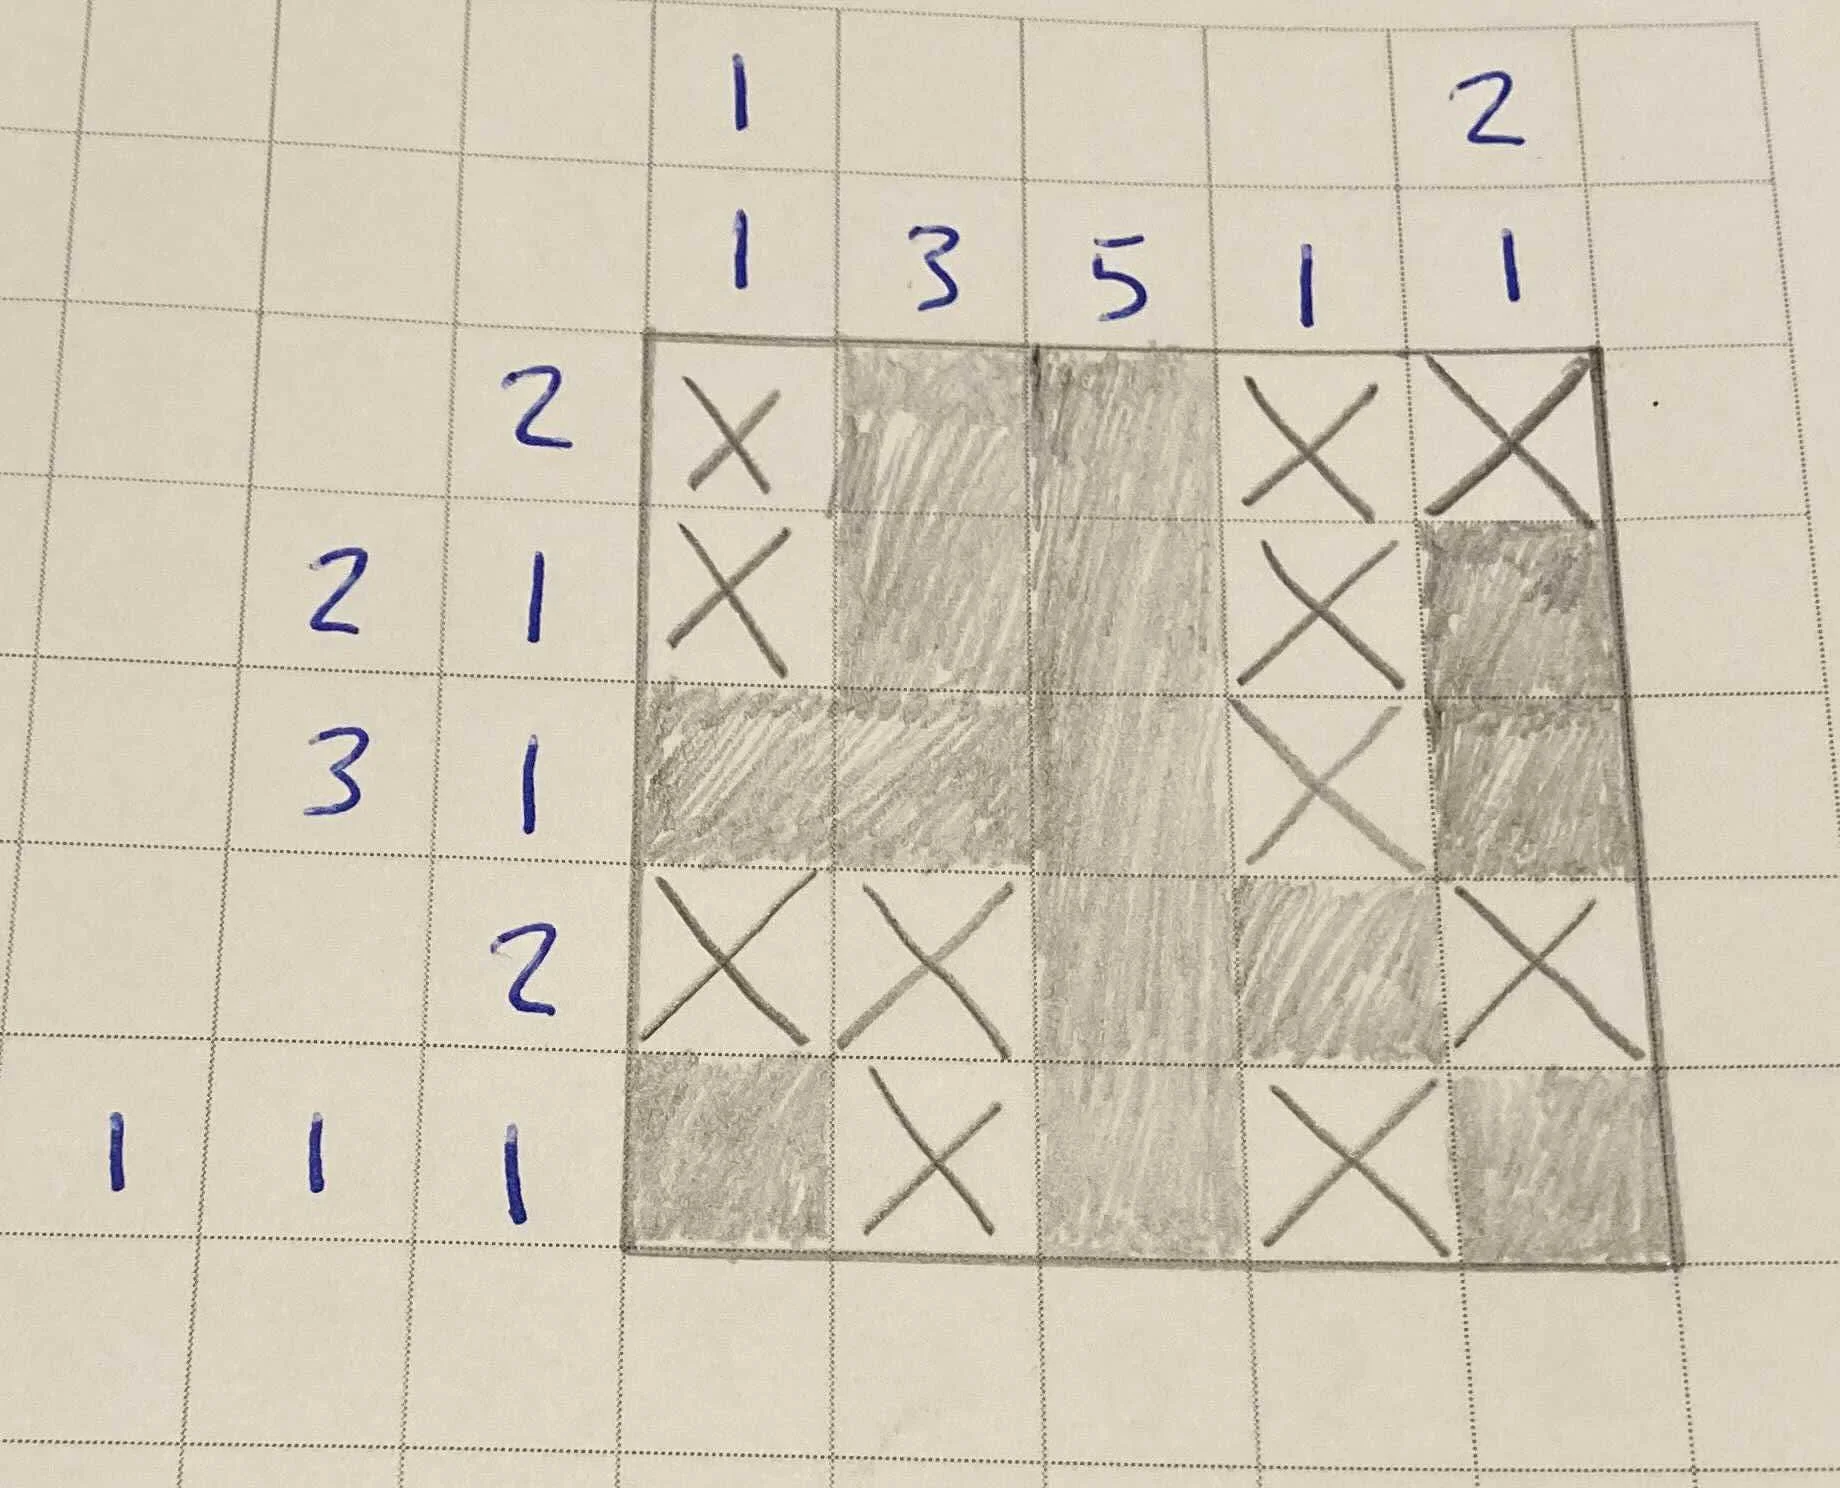
Players are presented with a square grid as can be seen above and numbered clues for the rows and columns. These clues indicate how many of the boxes should be filled in, how many are included in a group and if there should be spaces between groups of boxes. Part of the joy of this puzzle is cross referencing clues from the rows and columns to arrive at the solution.
So we can see a small 5x5 example of a filled out nonogram puzzle where boxes to be filled in are shaded in and boxes that are not to be filled in have an ‘X’ marked in them. The ‘X’ is an important tool for players to figure out where filled in boxes shouldn’t go and constrains the solving process.
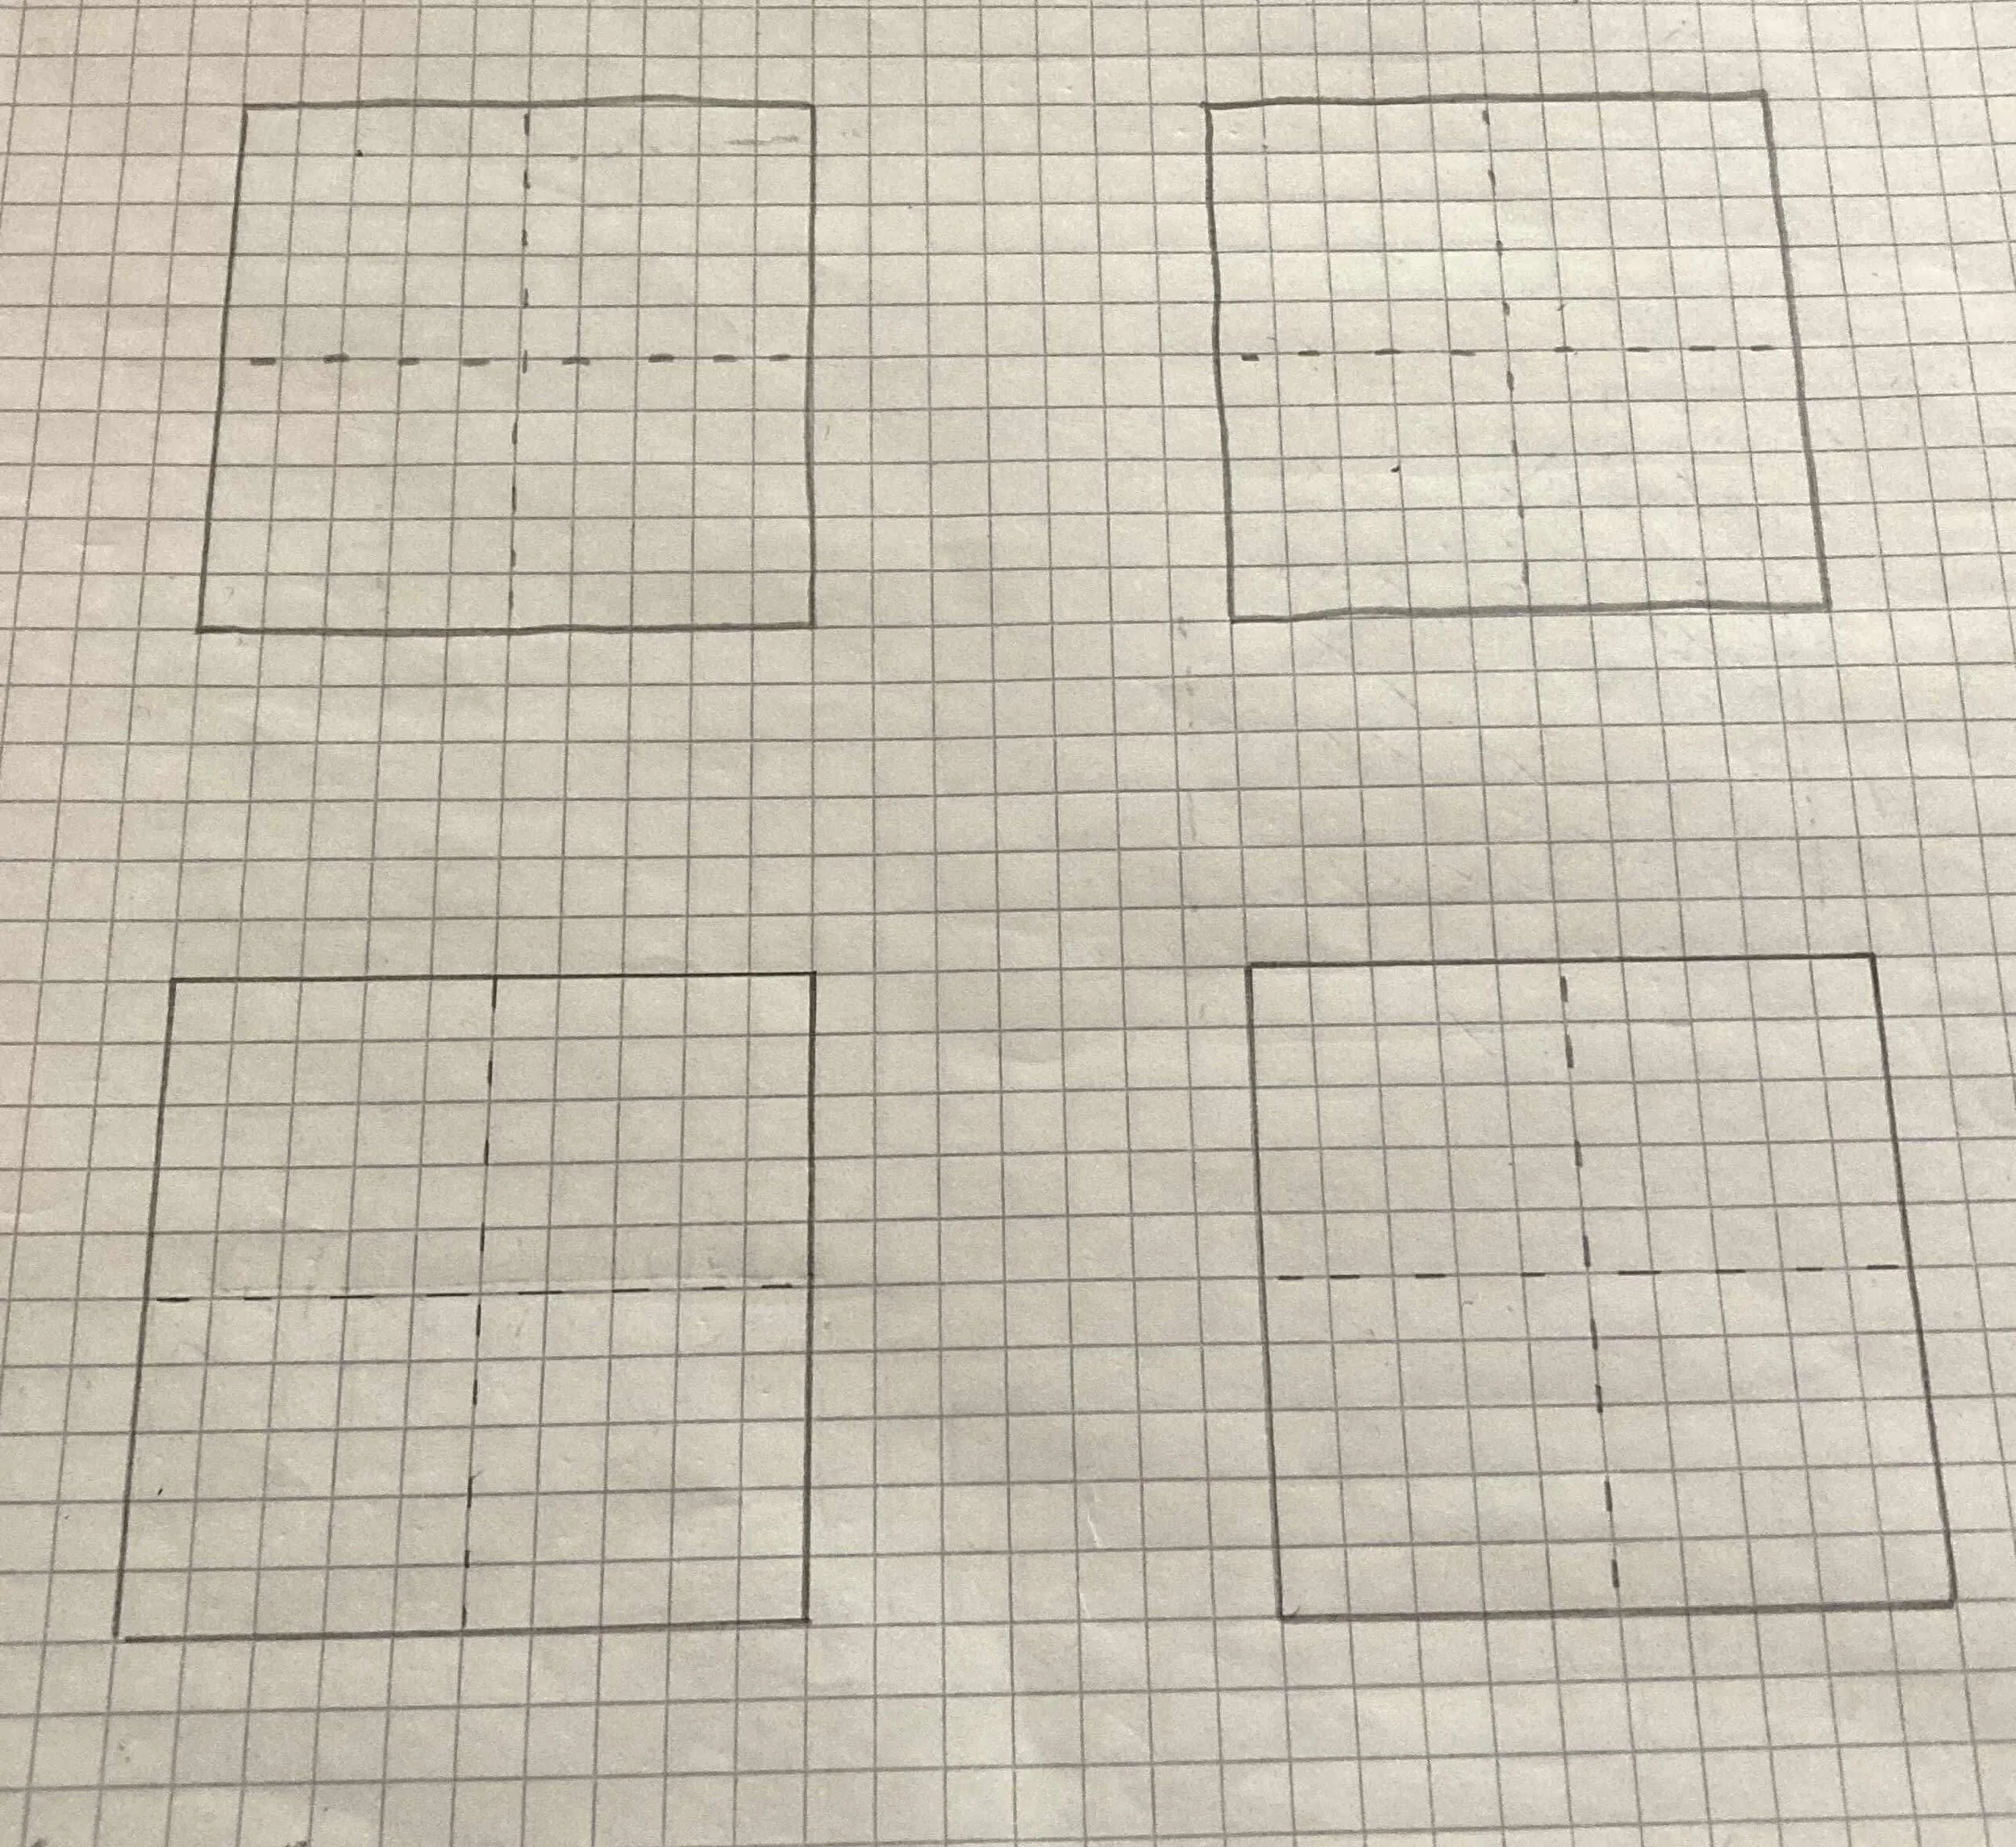
I drew pages and pages of these puzzles last year to try and get better at them and discover how you go about crafting them because, like all puzzle design, it is deceptively difficult at the start to make something good. Going back to making nonograms again was quite a joy so I took some of the lessons from drawing labyrinths to this as well. Which is to say I started off by drawing a number of blank grids to prep myself for the iteration process.
For the finished puzzle I use 1cm graph paper, but for iterating quickly on getting the base structure down I also used 0.5cm graph paper. I discovered with this one that you probably want to use both sizes. The latter for quick iteration and getting ideas down. The former for focused playtests which account for how different solving logic is being applied throughout the puzzle and at which points.
That latter approach is going to be a super important tool moving forward with designing nonogram puzzles because it almost creates a timeline of player actions which will be as invaluable as the tool learned in my last labyrinth blog post.
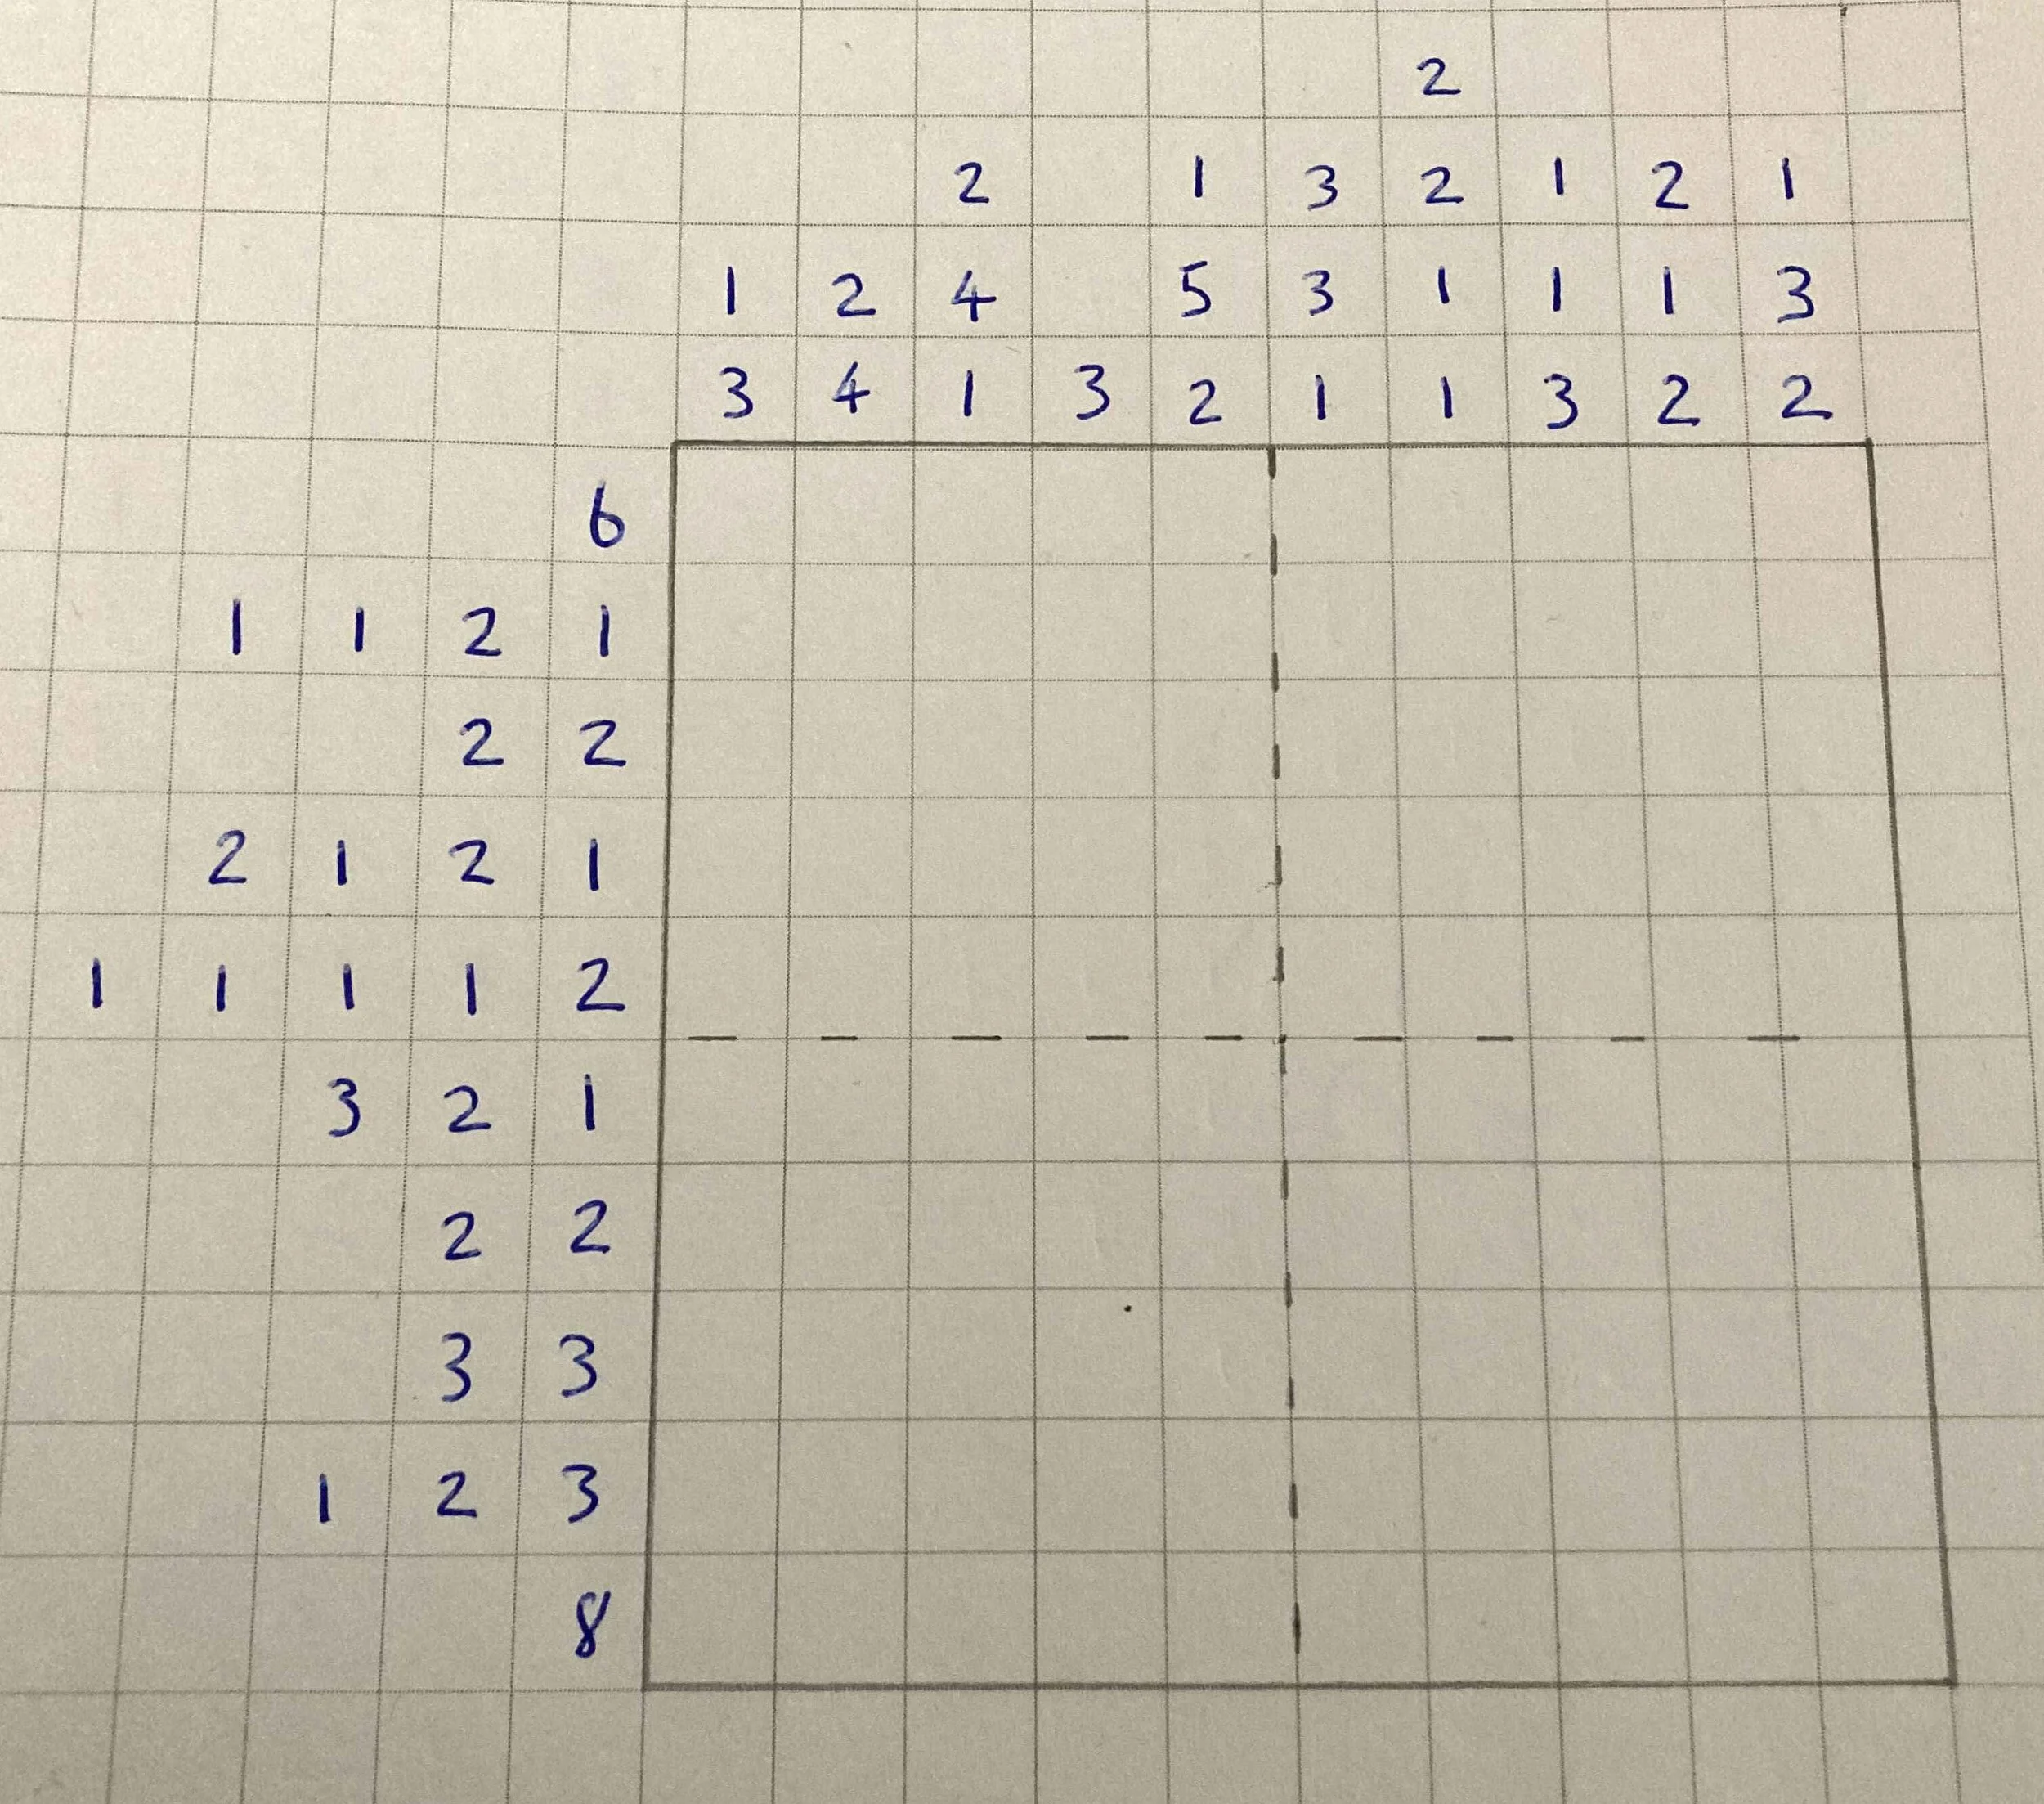
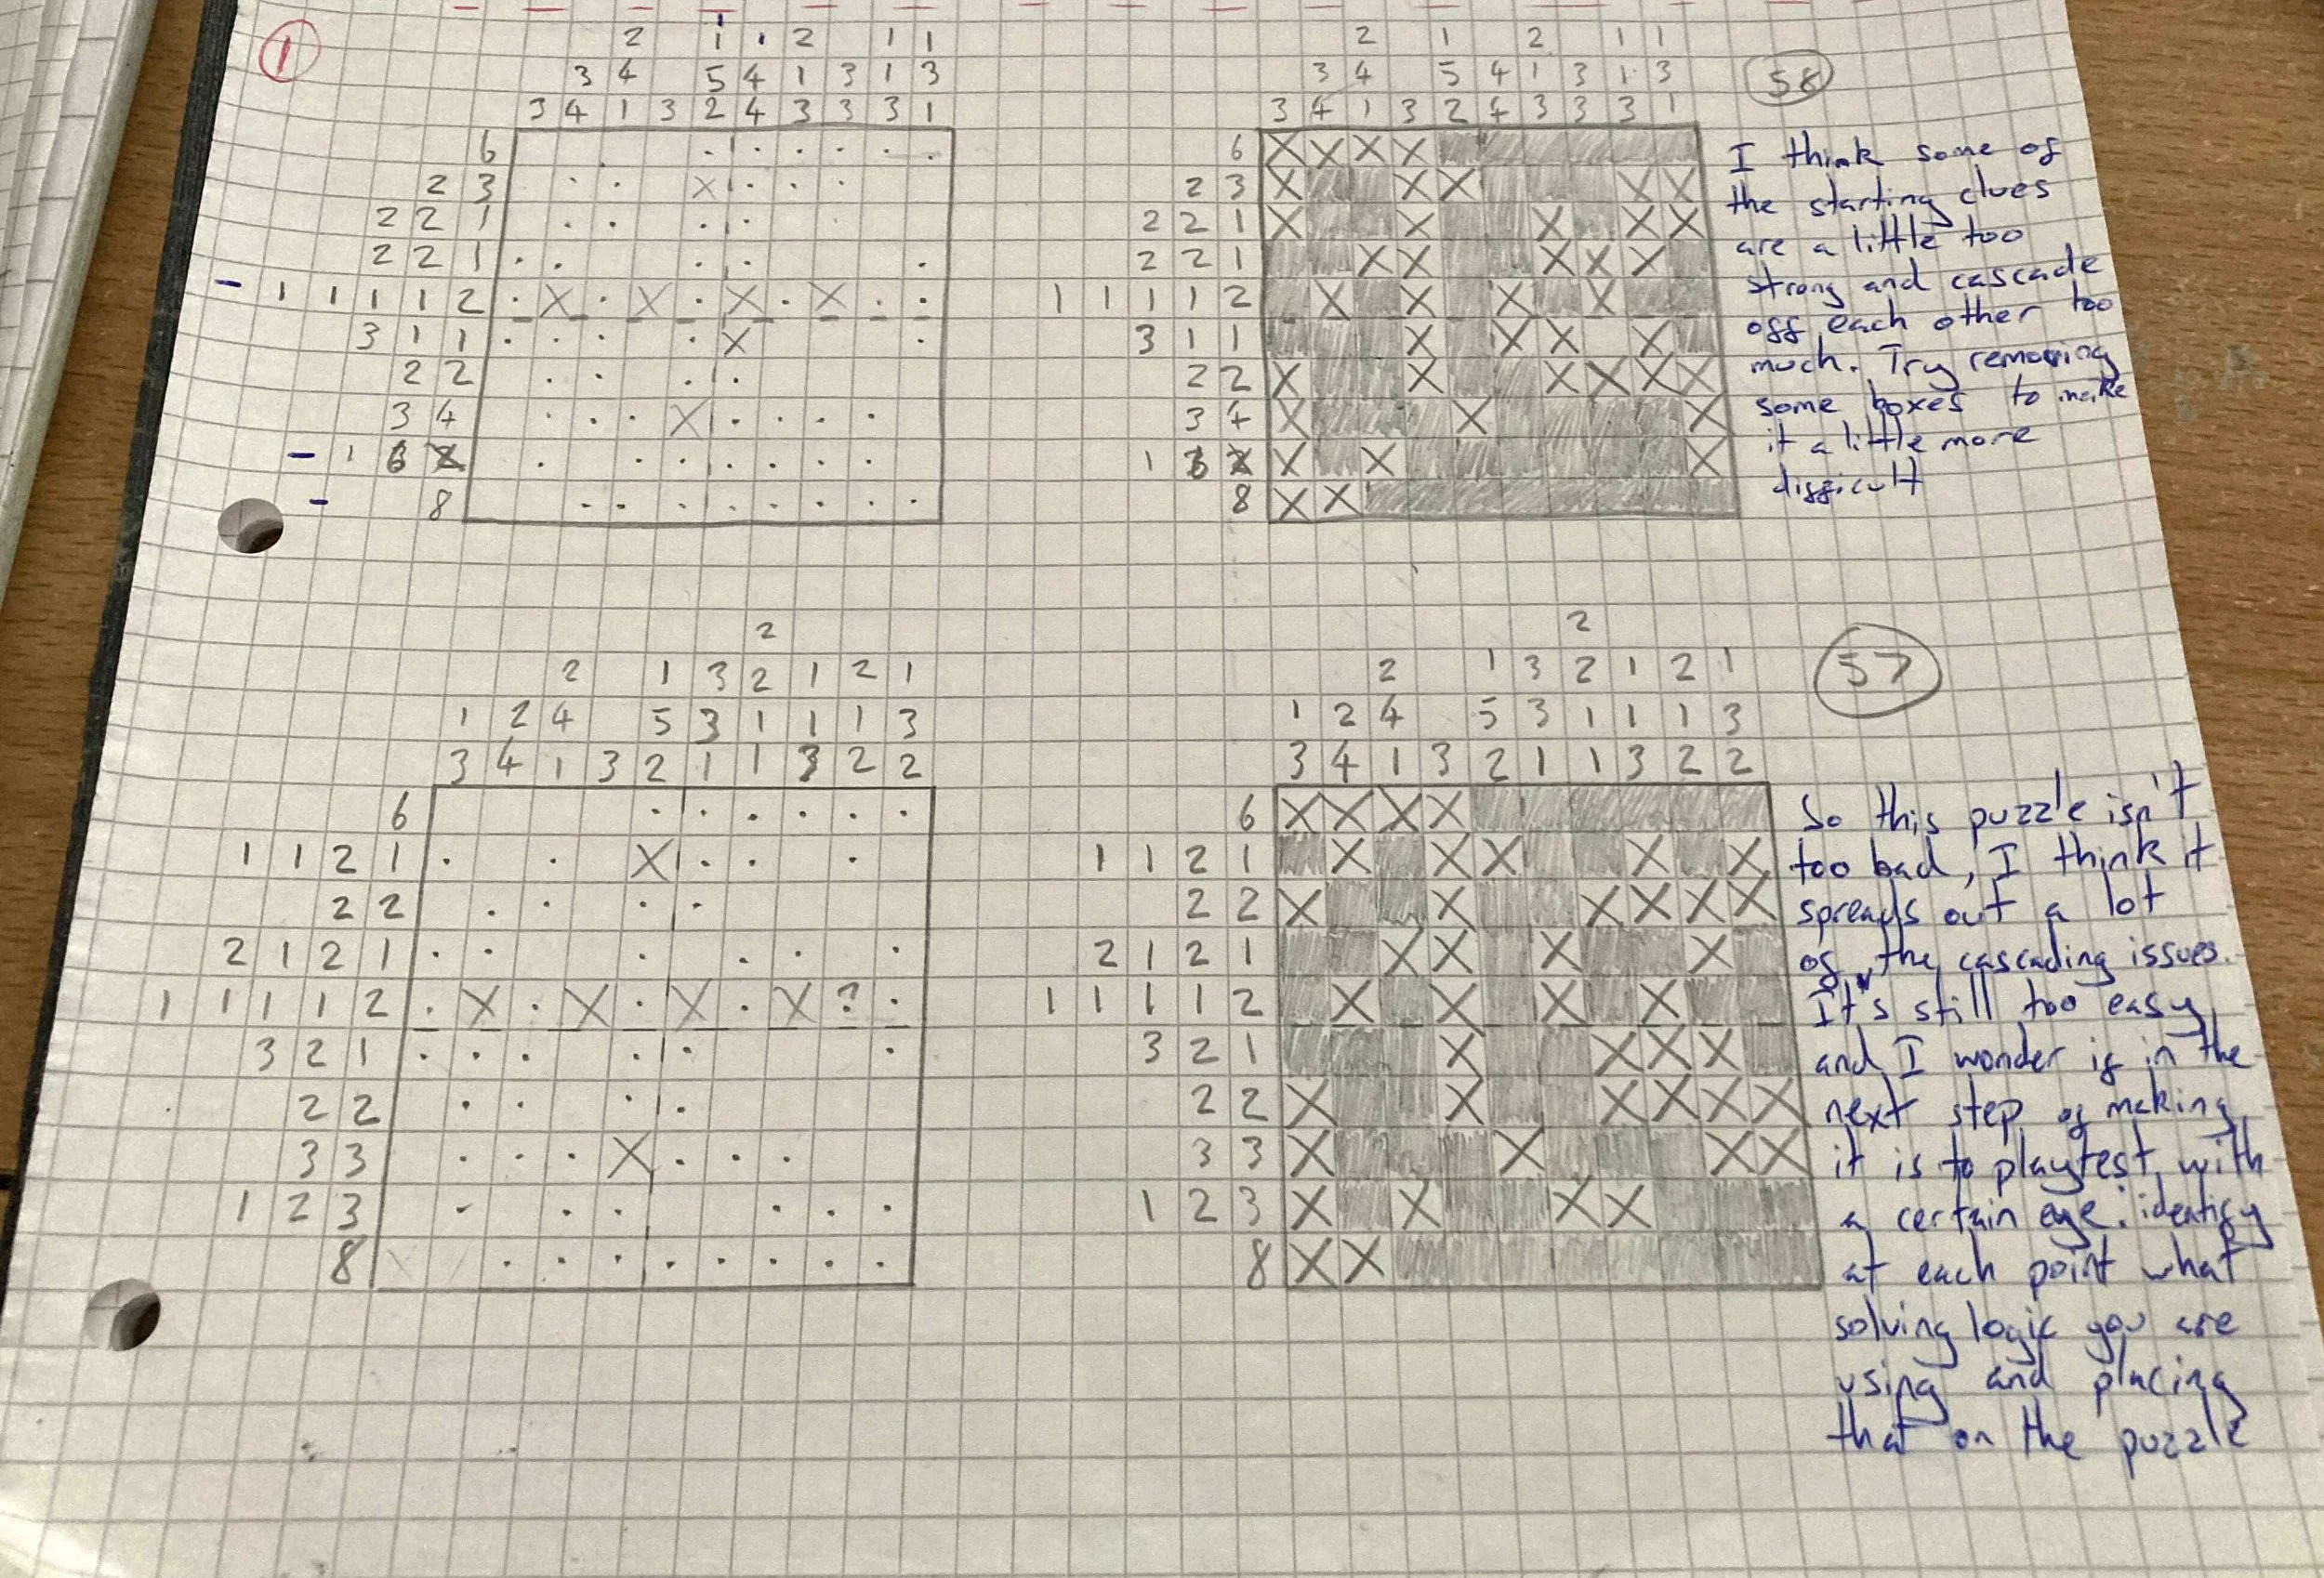
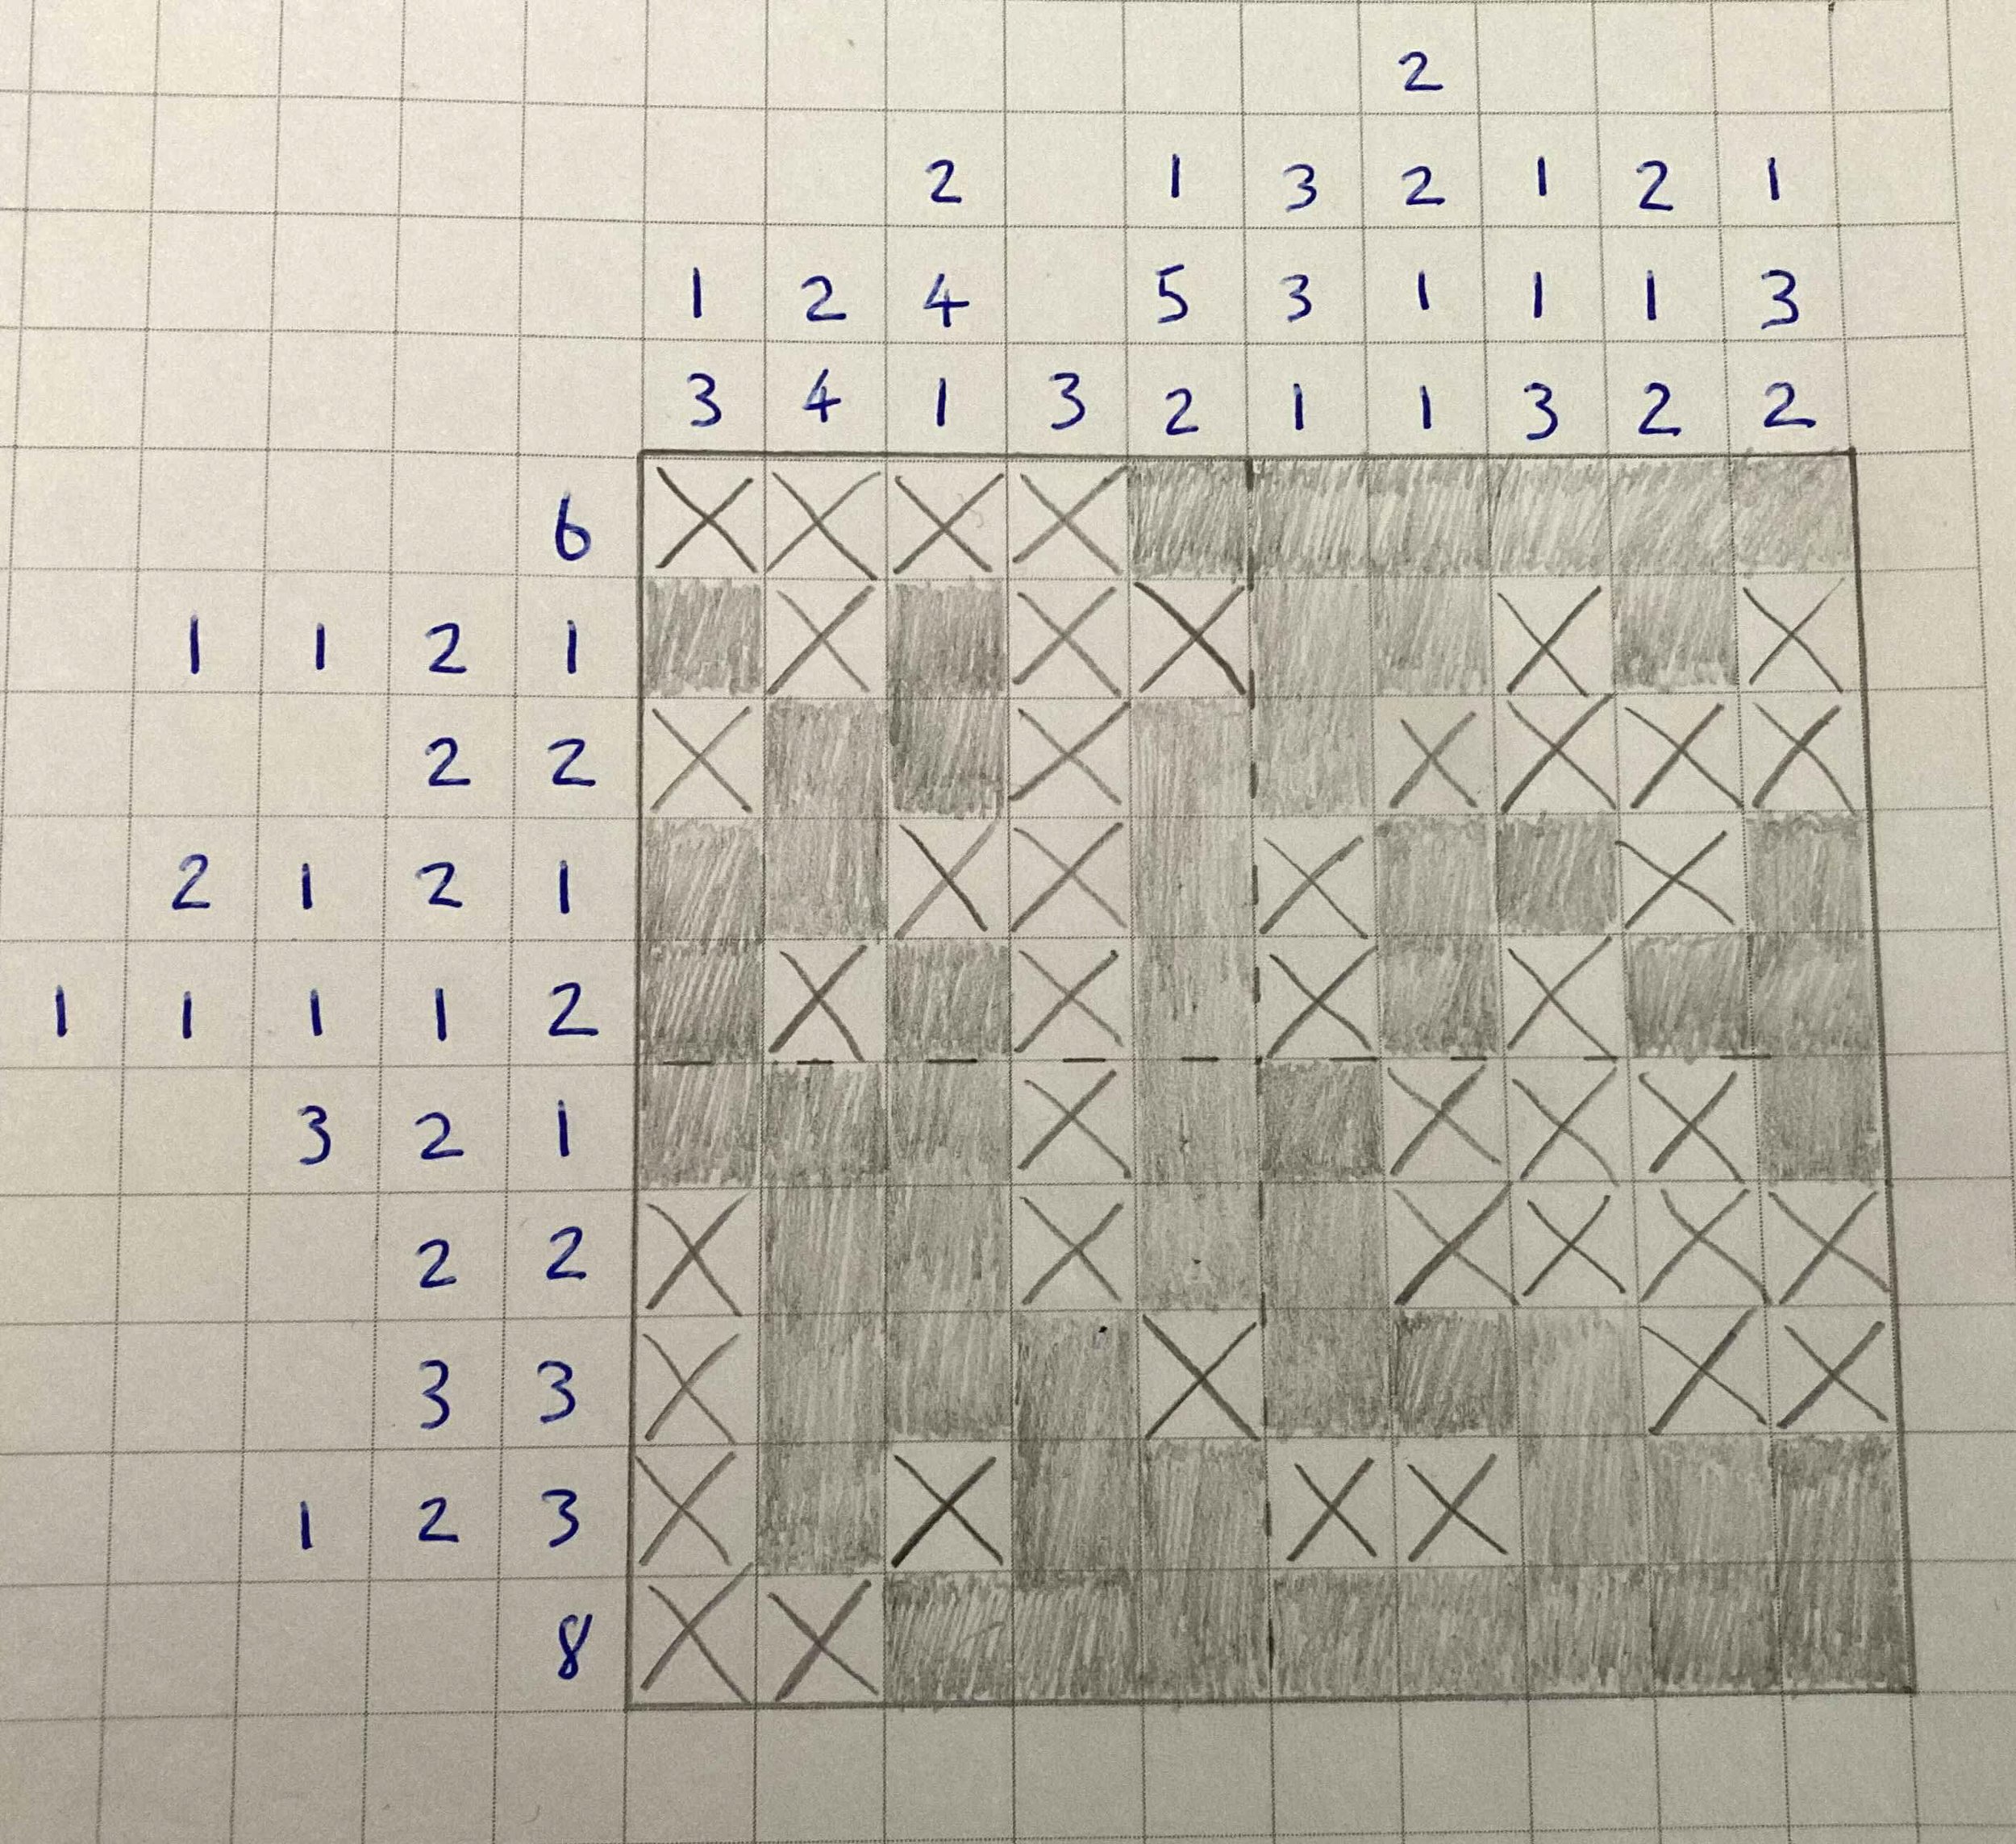
In the above image you can see some of that iteration at work. On the left I’ll scope out clues, starting with the major start points. So for instance the 8 clue on the bottom row affords a good start point for the player as do the 1,1,1,1,2 and 1,5,2 clues because the latter two fill an entire row or column. My process will definitely grow the more of these I get back into, but as with labyrinths it has to involve iteration and tools to show you what is happening at each stage of the solving process.
Below is the solution. I didn’t want to linger too much on iterating on the one puzzle because this series on design isn’t about outputting great puzzles but learning about the process. Whilst there’s definitely lessons to learn about sticking with a concept you have and letting perfectionism take some of your time, it’s also important to let a piece of work be ‘completed’ so that you can reflect on it and learn for the next puzzle you make.
I heard a good saying that a painting is only done when you decide it is. You could endlessly tweak. The same is true for design, I could have iterated on the puzzle below for days or weeks. And if I was releasing this into some game I would definitely do that. But the purpose here is to learn and make my practice better for when it is the case that I will release something.
